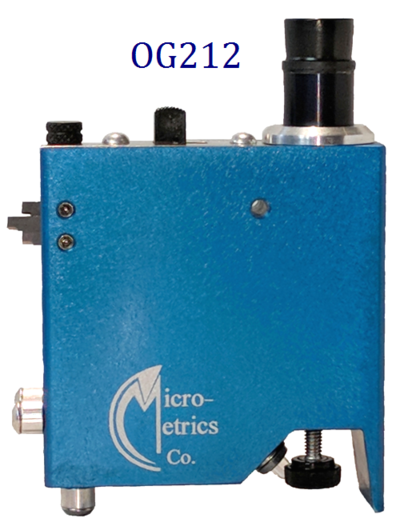
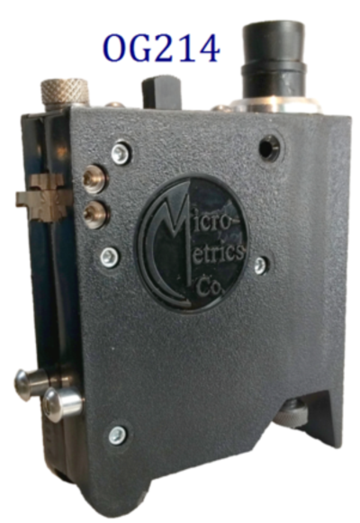
OG212 and OG214
Dual-Measure Tooke® Gage
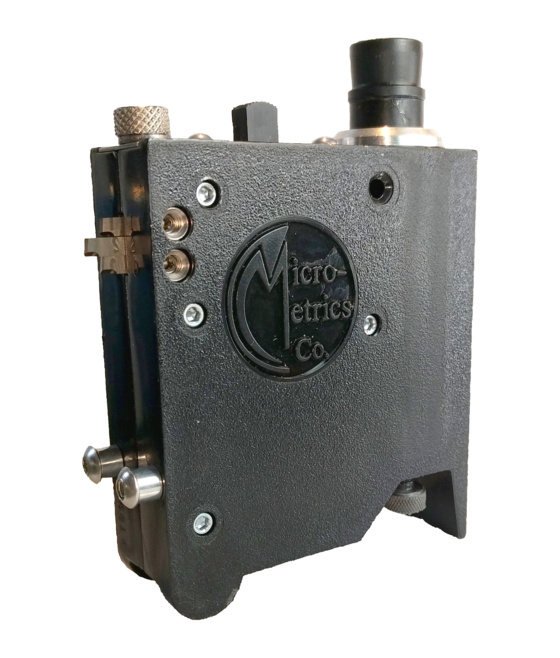
A precision tool for inspection and dry-film thickness measurement (in accordance with ASTM D4138) of single or multiple coats on any substrate, and for microscopic observation and measurement of substrate and film defects. The Tooke Paint Inspection Gage uses an illuminated 50-power microscope equipped with the new Dual-Measure scope with a measuring reticle marked in mils and micron; and mounts tungsten carbide cutting tips for precise incision of the work surface. Standard cutting tips are 1✕, 2✕, and 10✕. An optional 5✕ tip is available.
Dual-Measure scope testimonial
April 2018, a NACE instructor wrote:
It looks awesome. Love the new optics and the
really easy-to-read scales.

Dual-Measure features
- The new Dual-Measure scope shows 1 mil per hashmark space above the line and 20 microns per hashmark space below the line scale.
- Measures thickness of coatings applied to wood, plastic, cement, glass, ceramics, mirror backings, metal, etc.
- Assists in measuring brittleness and adhesion of coatings and materials.
- Both the OG212 and OG214 are supplied with 1✕, 2✕, and 10✕ cutting tips installed in the gauge body. An optional 5✕ cutting tip is available.
- Gauges come in a rugged plastic carrying case with cutting tip wrench, indelible marker, spare LED bulb, and spare batteries
The new reticles are AMAZING!
I have 2 more [gauges for scope swaps] in the mail for you and would like to purchase a new gauge as well.
FYI, I plan to purchase one more new one after this and will also send another 2 for new scopes after I get these back; that should take care of us.
Thanks again, these are AWESOME!
I can add that I took the Tooke to the line and watching my inspectors use the new gauge was like watching my kids at Christmas.
A gauge also can be ordered with three tips of the same size, or with a single-precision-ground tip and two blanks. The gauges are available in either machined aluminum (OG212) or in molded polycarbonate plastic (OG214).
Direct measurement of total dry-film thickness and the thickness of individual coats of paint is a unique capability of the Tooke Paint Inspection Gage. Thus, in addition to routine use, it often serves as a “referee” instrument to calibrate indirect or non-destructive thickness measuring instruments. Other uses include assessment of substrate conditions and coating adhesion, and observation of microscopic cracking, tendency for brittleness, cratering, or other microscopic film symptoms.
OG212 Tooke Paint Inspection Gage
The OG212 Tooke Gage is made of machined, anodized aluminum.
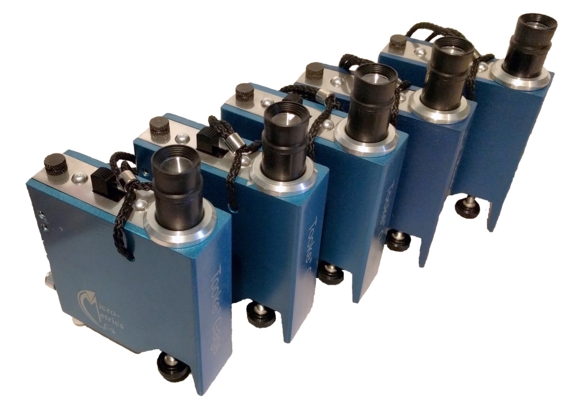
The Technical Sales head at a distributor wrote:
The fact that you are going back to the original tip conversions is a big deal for us. It's a relief to be moving forward with:
2X: each div = 1/2 mil
10X: each div = 1/10 mil
Telling people to count divisions and divide by the tip number was easy and well-understood.
OG214 Tooke Paint Inspection Gage
Functionally and dimensionally nearly identical to the OG212, the
less-expensive OG214 is made of molded polycarbonate plastic.
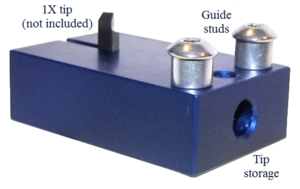 | CTH01 (single-tip) Cutting Tip HolderThis Cutting Tip Holder, at a little under two inches long, allows easy use of a cutting tip without having to manipulate the Tooke Gage to make the incision and then manipulate it again to view the incision through the microscope. Make multiple incisions with your most-used tip without having to return the gauge to viewing position multiple times. A tip storage compartment holds two additional tips. |
CTH02 (two-tip) Cutting Tip HolderThis Cutting Tip Holder allows two tips to be mounted on opposite sides and, like the shorter single-tip holder (CTH01), allows easy use of the cutting tips without having to manipulate the Tooke Gage to make the incision and then manipulate the gauge again to view the incision through the microscope. A tip storage compartment holds two additional tips. | 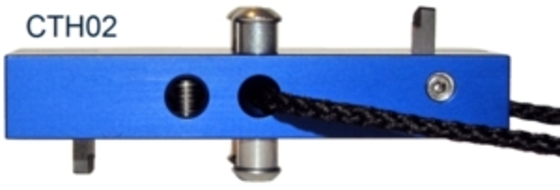 |
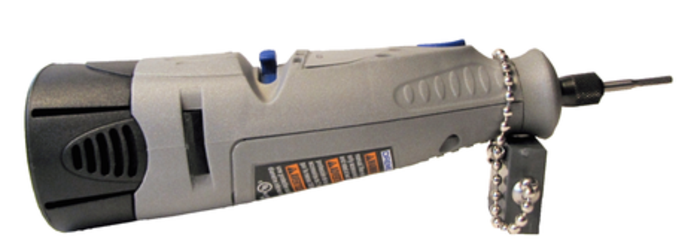 |
MG402 MicrogrooverThe Microgroover is a high-speed rotary tool for creating the small, almost microscopic, incisions required for measurements with the Tooke Paint Inspection Gage. This technique eliminates the deformations of coating and substrate which may occur when conventional gauge cutting tips are used. Hard, brittle, tough, fibrous, tender, or elastomeric materials exhibit clean, non-tearing, controlled disintegration under the rotary cutter. The high-speed cutter “erodes” away surface material in a precise pattern, leaving adjacent and underlying areas undisturbed. |
H-501 Pencil Hardness Gauge
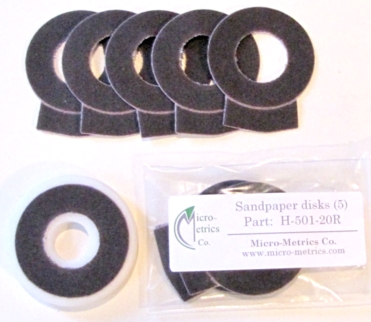
Due to circumstances way beyond my control; the H-501 bodies are not available. I am trying to find a company or machinist who can make them again. In the meantime, replacement parts (dressing disks and leadsets) are available. Very sorry for the inconvenience.
Leads sets (14 leads in a plastic case), dressing disks with five sandpaper disks, or replacement sandpaper disks (set of five) are still available.

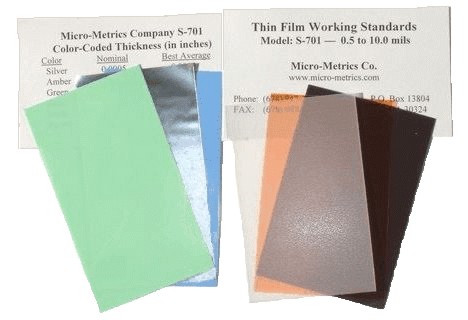
S-701 and S-702
Film Thickness Standards
Supplied in thickness ranges of 1–10 mils (S-701) or 10–60 mils (S-702) in non-certified grades. Packaged in sets of six pieces in a plastic folder. Essential for performance verification of indirect (magnetic or eddy current) type gauges and micrometers, and for precision comparison with Tooke Paint Inspection Gage results.
In memorium:
20+-year company president and owner
Michael Ray Laurence
(1 Oct 1950 – 10 Jul 2011)


